Hooray! Fall has officially arrived and that means the holidays are right around the corner.
If you are anything like me, then you probably LOVE decorating for the holidays!
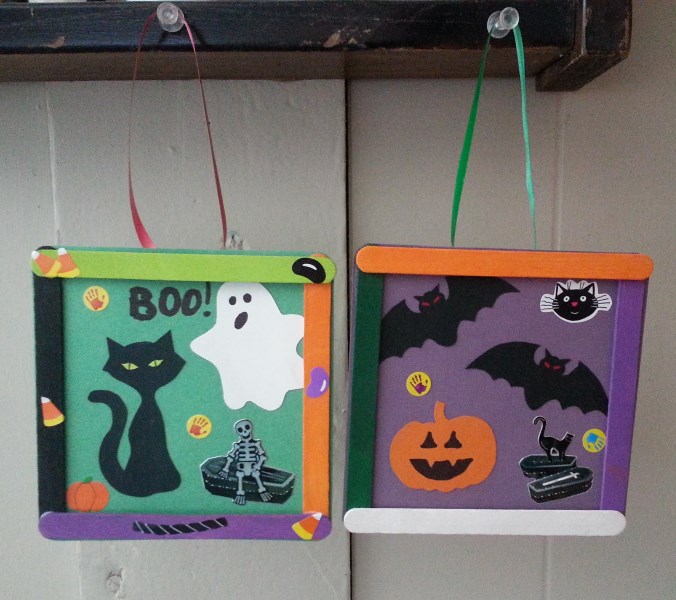
My favorite way to do this is by making homemade crafts with my kids. These are great because they allow us to save money – since we only use materials we already have on hand – and the kids love to re-use them each year.
They were super fun to make and I’ll be doing these as a group activity at my daughter’s birthday party next month. I think the kids will love doing it and it gives them something cool to take home from the party that they can actually re-use as decorations year after year.
Materials Needed:
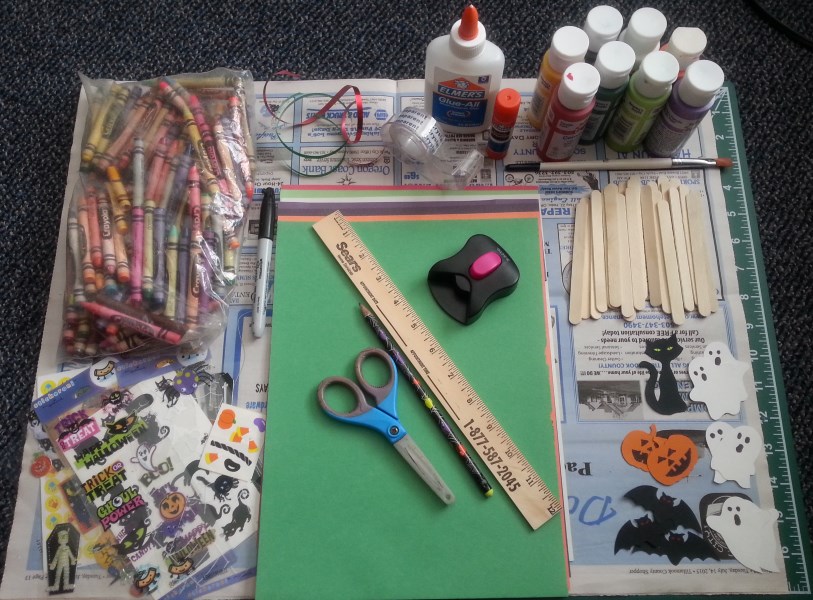
- Popsicle Sticks – 4 per frame
- Markers or Paint
- Construction Paper
- Crayons or colored pencils
- Halloween Stickers or Cutouts (optional)
- Pencil
- Ruler
- Scissors
- Sturdy string (ribbon, yarn, twine, etc.)
- Liquid School Glue and Glue Stick
- Scotch Tape (optional)
Directions:
1. Color Your Popsicle Sticks
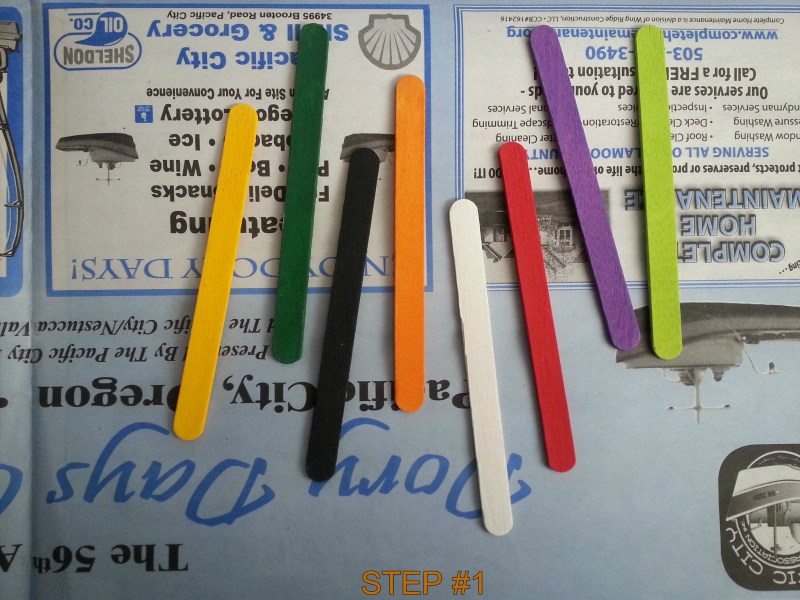
Lay out some newspaper to cover your work area and color your Popsicle sticks using your choice of Halloween colors. You can use either markers or paint for this, but if you use paint you need to make sure it dries completely before moving on.
2. Glue The Frame Together
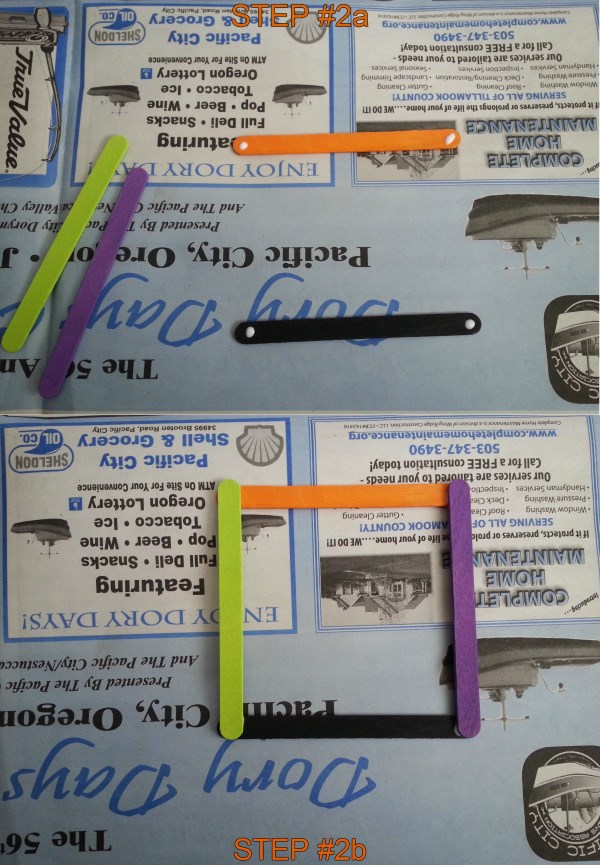
For this step you will need to lay two of your colored Popsicle sticks parallel to each other and put a dot of the liquid school glue on both ends of each one (see “Step #2a” photo). Then you simply need to place the remaining two Popsicle sticks onto the “bottom” ones so that you end up with a square frame (as shown in “Step #2b” photo). Gently press each corner together and carefully set it aside to completely dry.
3. Cut Out Some Paper Squares
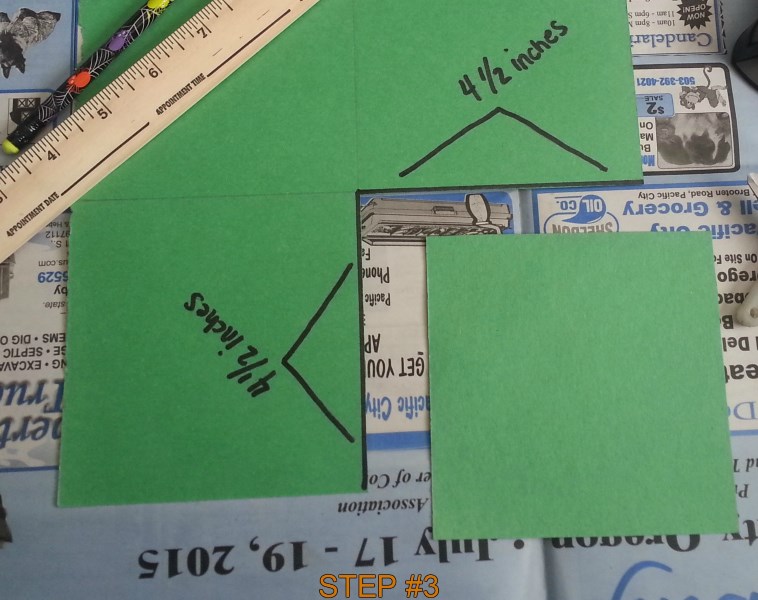
This step should be done by an adult or with close adult supervision.
Using whichever color of paper you like best, cut out a square just a little smaller than your stick frame. I used four and a half inch squares for our frames but squares cut to four and a quarter inches should also work just as well. This is going to be the backing for your frame and the “canvas” for your Halloween scene.
4. Create Some Halloween Scenes
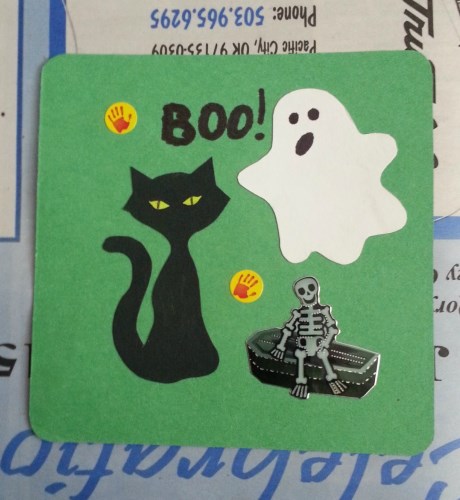
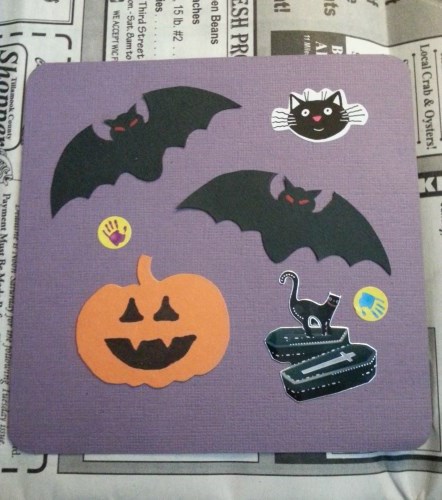
Once the squares are cut out your kids can start decorating them. They can draw scary pictures or write a Halloween saying using crayons and colored pencils, glue on Halloween shaped cutouts (using a glue stick for less mess) or stick on Halloween themed stickers. The possibilities are endless!
5. Frame Those Spooky Photos
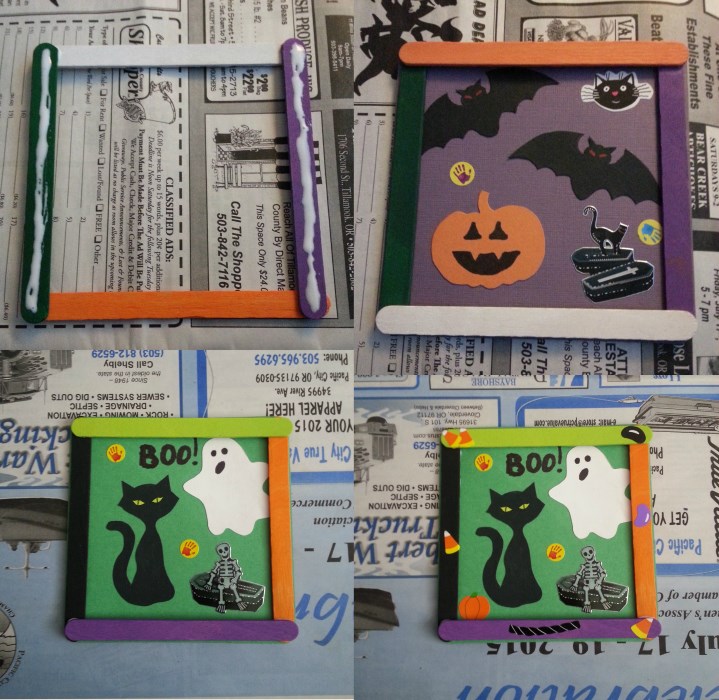
By now the frames you created in step two should be dry and easy to move around. Take the liquid school glue and put a strip of it down the length of the “top” two parallel sticks and gently press your square backing (with the Halloween scene facing the frame) onto the glue.
At this point, you should be able to flip your assembled frame over to see the picture. If you like, you can further decorate the frame at this point using some small Halloween themed stickers or even some glitter and glue! Let all the glue dry completely before moving on to the last step.
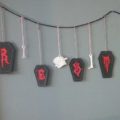
6. Hang It Up
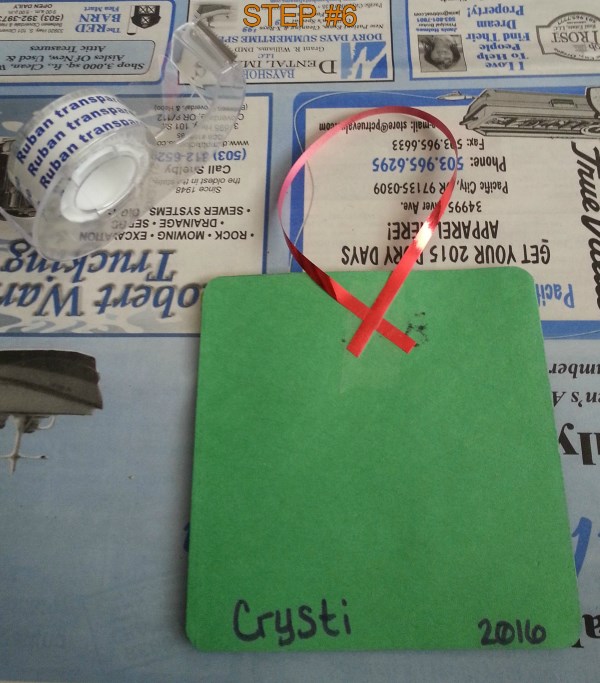
To hang your new craft simply attach some sturdy string to the back of it. I used curling ribbon because it was what I had on hand but you can use yarn, twine or other types of ribbon if you would like. No matter what you choose to hang your frame with, you will need about ten inches of it.
Attach the string to the back of the frame using either a strip of Scotch tape or a little bit of liquid glue – tape worked great for my lightweight ribbon but heavier strings would likely need to be glued on. If you are using glue, just make sure it is dried completely before attempting to hang it.
This is such a cute Halloween craft to do a rainy day or as a group activity at a Halloween party. Plus, they are so much fun to make your kids may want to make a few different ones. What a great way to spend time together and decorate for the holidays all at the same time!
Like this…?